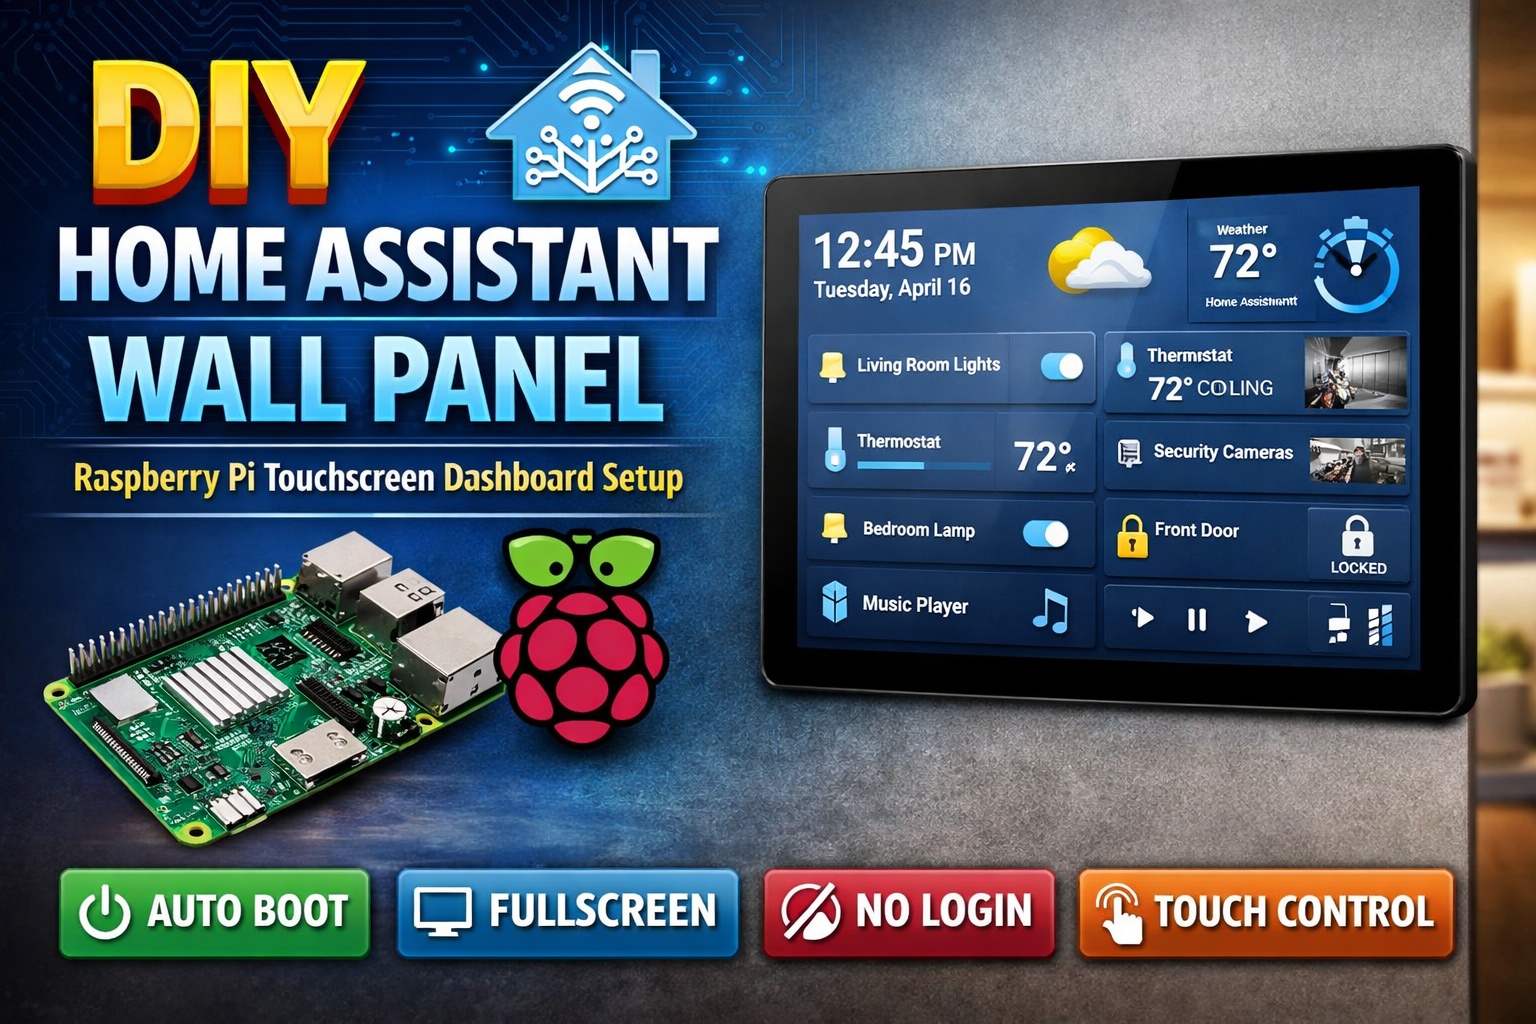
🏠 Turn Raspberry Pi Touch Display into Home Assistant Wall Panel (Kiosk Mode)
If you run Home Assistant on one Raspberry Pi (server) and you have another Raspberry Pi + Touch Display, you can convert it into a beautiful always-on wall panel dashboard.
In this tutorial, we will create a kiosk mode Home Assistant panel that:
✅ Auto boots directly into Home Assistant Dashboard
✅ Fullscreen / Touch friendly
✅ No mouse/keyboard required
✅ No sleep / no screen blank
✅ Works even when IP address changes using homeassistant.local
🔧 Requirements
Hardware:
-
1 Raspberry Pi running Home Assistant Server
-
1 Raspberry Pi for Display (Panel Pi)
-
Raspberry Pi Touch Display (official or HDMI display)
-
WiFi or LAN connection
Software:
-
Raspberry Pi OS Lite / Desktop on panel Pi
-
Chromium browser (Kiosk Mode)
🧩 Network Example
Home Assistant Server URL:
Panel Raspberry Pi:
-
auto opens the above URL in fullscreen
✅ Step 1: Install Required Packages on Panel Pi
Update system:
Install X server + Openbox + Chromium:
✅ Note:
On latest Raspberry Pi OS / Debian, use chromium (not chromium-browser).
✅ Step 2: Create Kiosk Startup Script
Create .xinitrc:
Paste this:
Save:
-
CTRL + O → Enter
-
CTRL + X
Make it executable:
✅ Step 3: Auto Start Kiosk on Boot
Edit bash profile:
Add this:
Save and exit.
✅ Step 4: Enable Console Auto Login (Important)
Run:
Go to:
✅ System Options → Boot / Auto Login → Console Autologin
This ensures after boot, Pi logs in automatically and starts kiosk.
✅ Step 5: Reboot and Test
After reboot, your panel should open:
✅ Home Assistant dashboard
✅ Fullscreen
✅ Touch working
🔐 Step 6 (Recommended): Disable Username/Password on Wall Panel (Trusted Network)
By default Home Assistant asks for login.
For wall panels, we can enable Trusted Networks so panel auto logs in.
Open Home Assistant terminal:
Install Advanced SSH & Web Terminal Add-on in HA.
Then open terminal and edit:
Add this block (replace IP with your panel IP):
✅ Save and restart Home Assistant:
Now your panel opens dashboard without login screen 🎉
⭐ Extra Tips (Pro Setup)
✅ Use .local URL for stable access
Instead of fixed IP, use:
So even if IP changes, panel still works.
✅ Rotate Screen (If Portrait Mode)
Edit:
Add one:
Portrait Left:
Portrait Right:
Reboot.
✅ Add Touch Keyboard (Optional)
If you ever need to type:
Run:
✅ Final Result
Now you have a fully working Home Assistant wall panel:
✅ Auto boot kiosk mode
✅ Fullscreen touch dashboard
✅ No sleep / no blank screen
✅ No password required (Trusted Networks)
✅ Works even if Home Assistant IP changes
📌 Conclusion
This is one of the best DIY Home Assistant upgrades for any smart home.
A Raspberry Pi touchscreen wall panel makes your home automation look professional and easy to control.