🔥 Introduction
If you have a solar system at home, you know how important it is to monitor your energy production and consumption. But most inverters don’t give you real-time data on your phone or computer.
Solar Assistant is the solution! It’s a powerful monitoring software that runs on a Raspberry Pi and connects to your inverter, giving you live data – battery percentage, solar generation, load consumption, grid import/export, and much more.
In this guide, I’ll show you how to install Solar Assistant on a Raspberry Pi step by step. No technical expertise required!
📦 What You’ll Need (Requirements)
Before we begin, make sure you have these items:
| Item | Description |
|---|---|
| 🟢 Raspberry Pi | Model 2, 3, 4, or Zero 2 W (Pi 4 recommended) |
| 🟢 MicroSD Card | 8GB or larger (Class 10 recommended) |
| 🟢 USB to RS485 Cable | For connecting to your inverter |
| 🟢 Inverter with COM/BMS Port | Luminous, Microtek, Sukam, Growatt, Havells, etc. |
| 🟢 Power Supply | 5V/2.5A USB-C or micro USB (depending on Pi model) |
| 🟢 Internet Connection | Wi-Fi or Ethernet |
| 🟢 Computer | To flash the SD card and access the web interface |
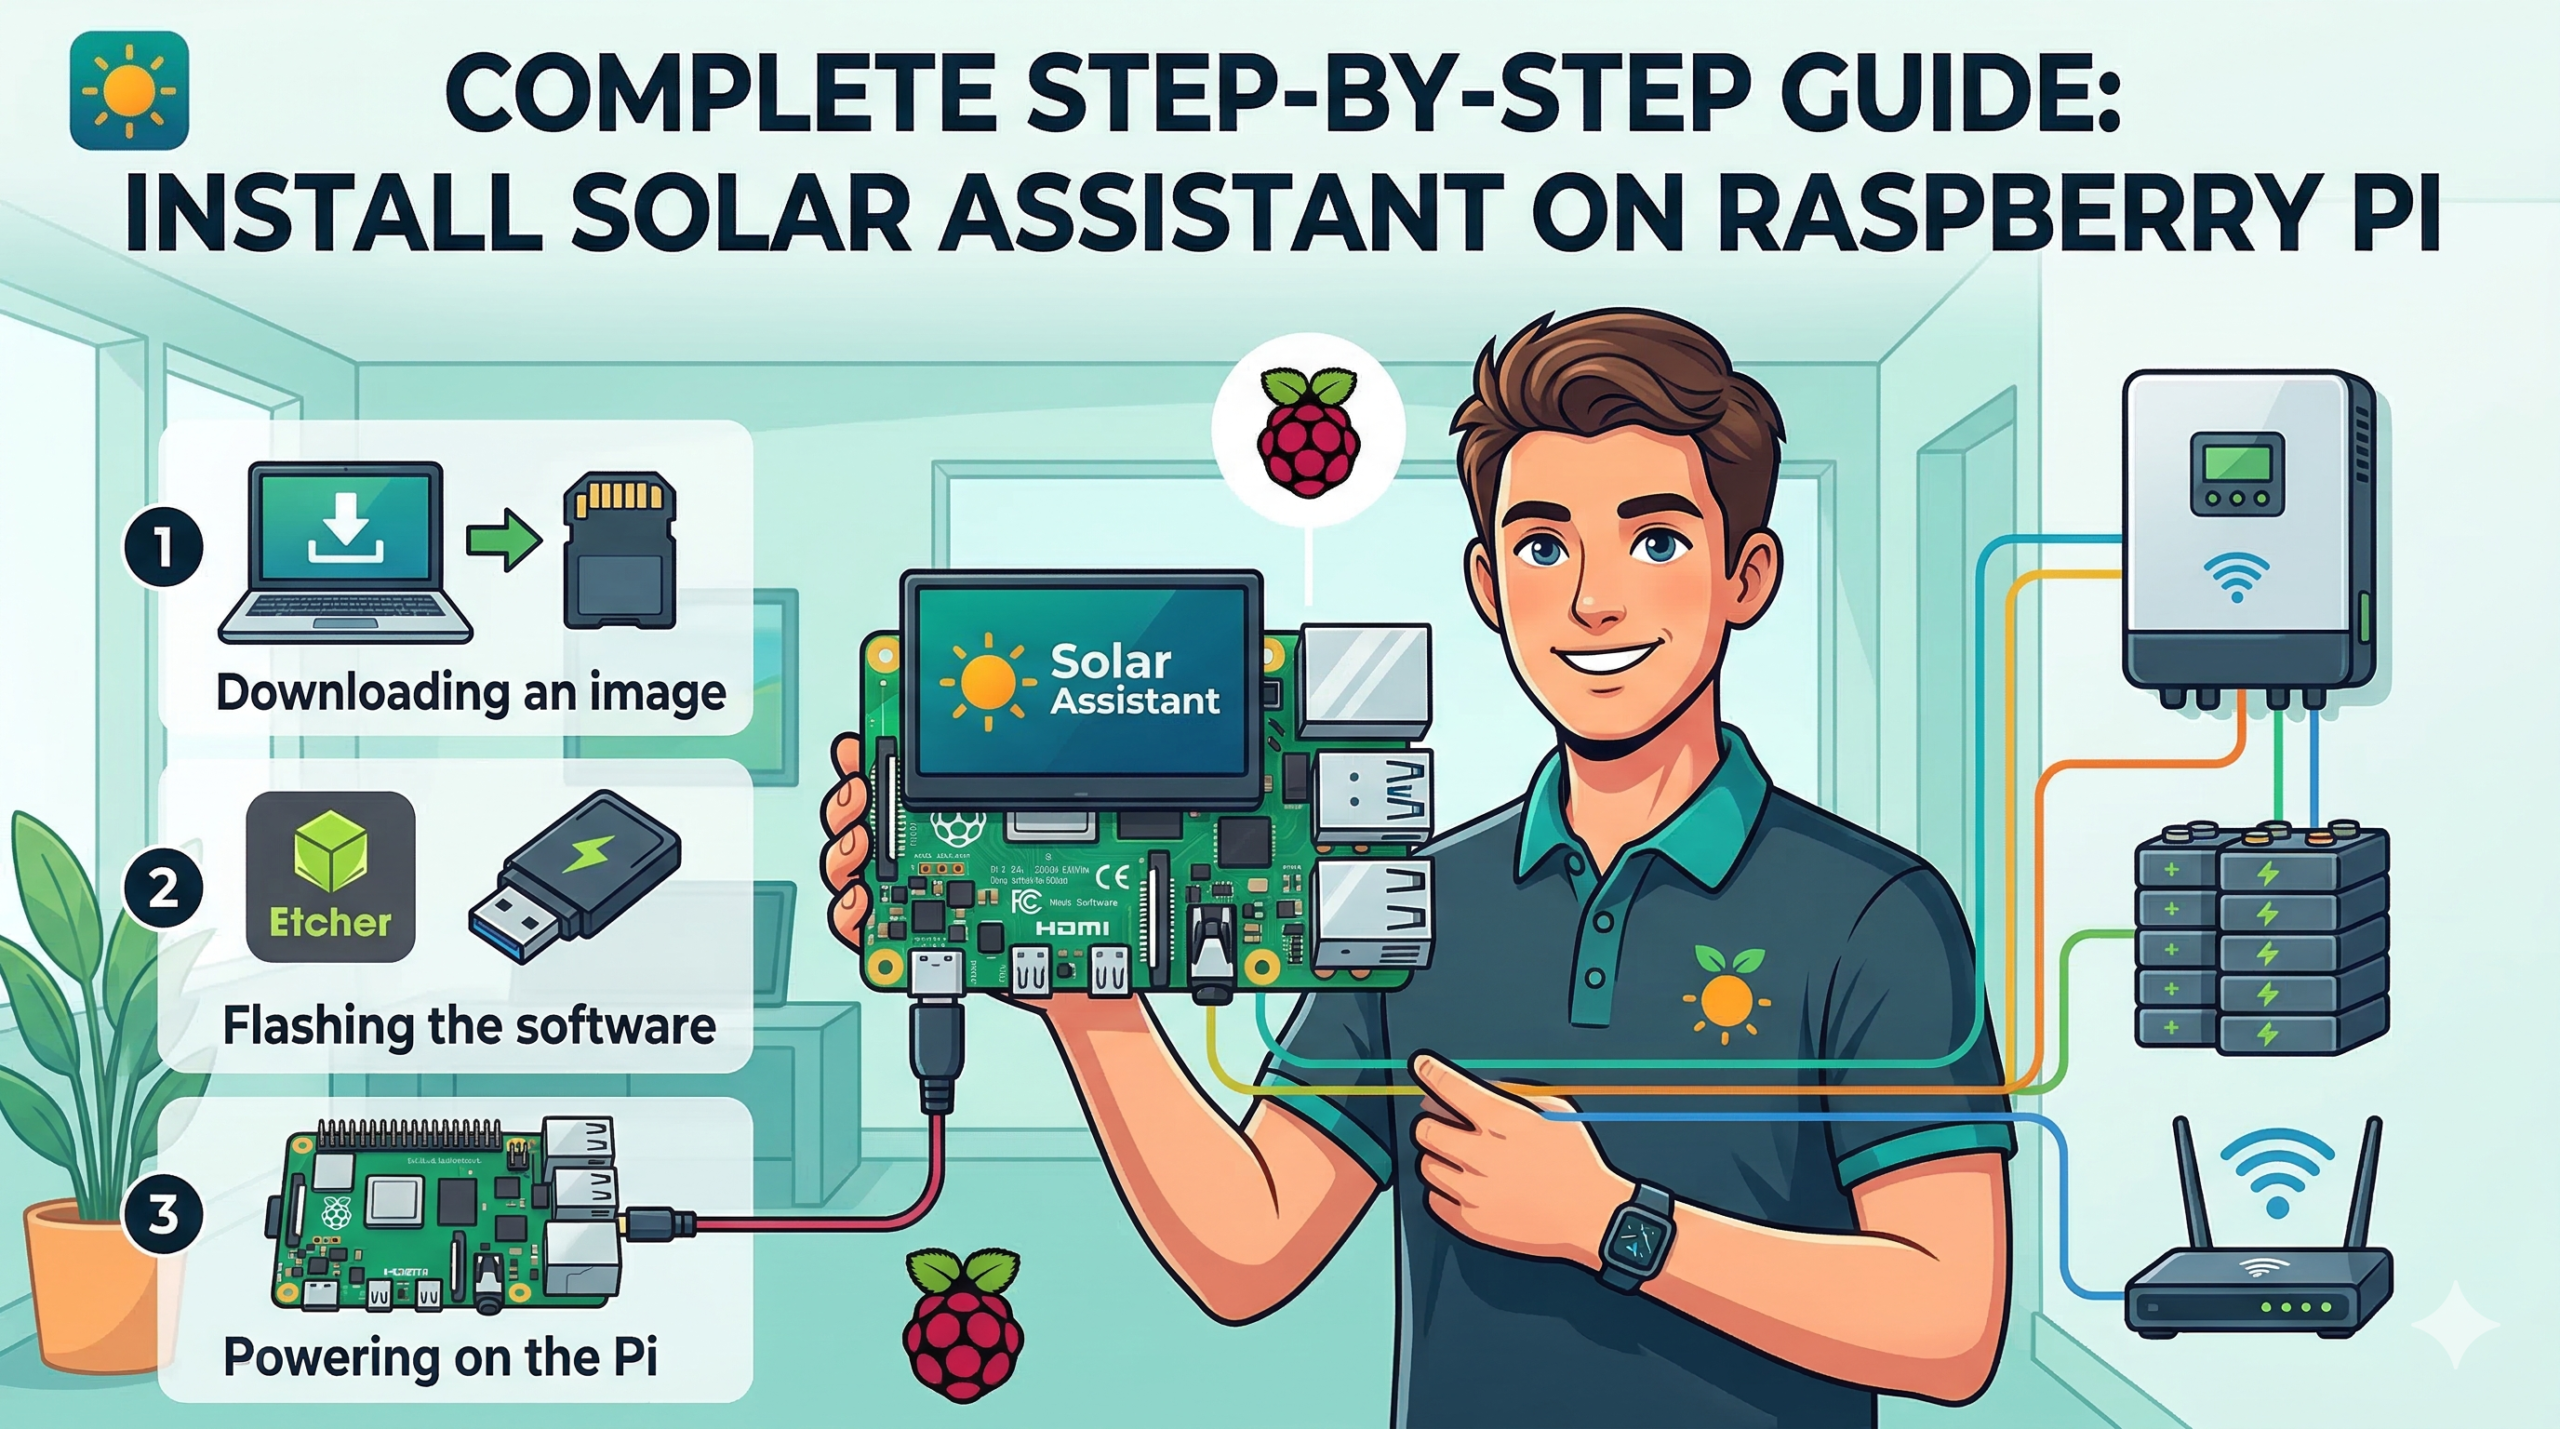
📥 Step 1: Download Solar Assistant Software
-
Go to the official Solar Assistant website: https://solar-assistant.io
-
Navigate to the Download section
-
Download the latest Raspberry Pi image file (
.imgfile) -
Also download Raspberry Pi Imager or Balena Etcher (for flashing the SD card)
💡 Pro Tip: Solar Assistant offers a 30-day free trial so you can test it before purchasing a license.
💾 Step 2: Flash Solar Assistant to SD Card
-
Insert your MicroSD card into your computer
-
Open Raspberry Pi Imager (or Balena Etcher)
-
Click “Choose OS” → “Use Custom” and select the Solar Assistant
.imgfile you downloaded -
Click “Choose Storage” and select your SD card
-
Click “Write” and wait for the process to complete
-
Once done, safely eject the SD card
⚠️ Warning: Make sure you select the correct SD card, or you might erase important data!
🔌 Step 3: Hardware Connection (Wiring)
This is the most critical step. Follow carefully:
Understanding the Cable
Your USB to RS485 cable has three wires:
-
Yellow → A (Data+)
-
Green → B (Data-)
-
Black → GND (Ground)
Connecting to Inverter
-
Locate the COM port or BMS port on your inverter
-
It’s usually labeled on the side or bottom of the inverter
-
Look for terminals marked A, B, and GND
-
Connect:
-
Yellow wire to A terminal
-
Green wire to B terminal
-
Black wire to GND terminal
-
-
Tighten the screws securely
-
Plug the USB end into any USB port on your Raspberry Pi
⚠️ Safety Tip: Double-check the wiring before powering on. Incorrect wiring won’t damage the inverter but may prevent data transmission.
⚡ Step 4: Power Up Raspberry Pi
-
Insert the SD card into your Raspberry Pi
-
Connect the power supply to your Pi
-
The green LED should start blinking – this means it’s booting up
-
Wait 1-2 minutes for the first boot to complete
🌐 Step 5: Find Your Raspberry Pi’s IP Address
You need to find the IP address of your Raspberry Pi to access Solar Assistant:
Method 1: Solar Assistant Finder App (Easiest)
-
Download the Solar Assistant Finder app from the official website
-
Install and open it on your computer or phone
-
It will automatically detect your Pi and show its IP address
Method 2: Router Admin Panel
-
Log in to your router’s admin panel (usually
192.168.1.1or192.168.0.1) -
Look for “DHCP Clients” or “Connected Devices”
-
Find a device named “SolarAssistant” and note its IP address
Example IP: 192.168.1.50
🖥️ Step 6: Configure Solar Assistant
-
Open a web browser on any device connected to the same network
-
Type the IP address you found (e.g.,
http://192.168.1.50) -
You’ll see the Solar Assistant web interface
-
Go to Settings → Device Settings
-
Configure these options:
-
Inverter Model: Select your inverter brand and model from the dropdown
-
Battery Type: Select your battery type (Lead Acid or Lithium)
-
If your exact model isn’t listed, choose a similar one or “Generic”
-
-
Click “Save”
📊 Step 7: View Live Data
After saving, wait 10-15 seconds. The main dashboard will start showing live data:
-
☀️ Solar Power – How much power your panels are generating
-
🔋 Battery SOC – State of charge (percentage)
-
🏠 Load Power – How much power your home is consuming
-
⚡ Grid Power – Import/export to the grid
Congratulations! You now have a professional solar monitoring system! 🎉
❓ Frequently Asked Questions
Q: Is Solar Assistant free?
A: It’s a paid software with a one-time license fee, but a 30-day free trial is available.
Q: Which inverters are supported?
A: Almost all major Indian brands – Luminous, Microtek, Sukam, Growatt, Havells, Livguard, and many more. Check the official website for the complete list.
Q: Can I access it remotely?
A: Yes! Solar Assistant has built-in remote access via their cloud service (paid feature) or you can set up VPN/Tailscale for free.
Q: What’s next?
A: In our next guide, we’ll show you how to connect Solar Assistant to Home Assistant using MQTT for advanced automations!